How I calibrated my contact microphone

Introduction
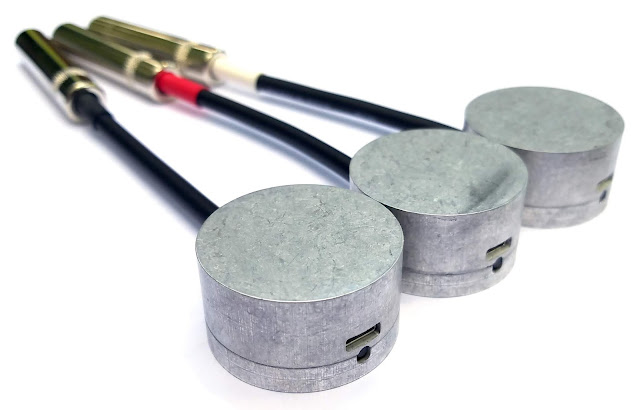
I used the Hsu-Nielson method to find the frequency response of my contact microphones. This method involves cracking a mechanical pencil graphite on the microphone transducer. The microphone in question is the one shown above, and described in detail here:http://michaelkrzyzaniak.com/marshmallow.php
I specifically used the white, low-gain variant.
Experimental Setup and Results

Figure 1: The mechanical pencil used in this experiment, with 0.5mm number-2 graphite

Figure 2: Three millimeters of graphite were extended from the pencil

Figure 3: Audio interface used for experiment (Scarlett 2i4), showing the settings used.
Figure 4: Video showing the graphite being cracked. A small amount of putty was used to prevent the tip of the pencil tapping the transducer after the graphite breaks.
The graphite is placed on the transducer and constant pressure is applied. When the graphite breaks, the pressure is released in a very short time (shorter than the sample interval). This produces a unit step function, which has a spectrum of 1/(2 π f), where f is the frequency. So the impulse response of the microphone, X, is
X = DFT(u)dB - [1/(2 π f)]dB
where u is the microphone signal (unit step response), DFT is the discrete Fourier transform, and the subscript dB indicates that the value has been converted to decibels, via
xdB = 20*log_10(x).
This is the magnitude of the result:

Figure 5: Magnitude spectrum of Metal Marshmallow contact microphone.
Using this method, the magnitude response is only determined up to an additive constant offset in decibels, so the plot here was arbitrarily centered around 0dB for visual clarity. I also 'liftered' the plot, discarding all but the first 100 cepstral coefficients, again for visual clarity.


Comments
Post a Comment